Heading out to the serene waters for your favorite fly fishing spot requires having all the techniques for this activity down pat to enhance your fishing experience. The art of fly fishing calls for a blend of skill and patience, especially when it comes to the delicate task of attaching a nymph to a tippet. What is the best way to tie a nymph to a tippet?
Tying a nymph to a tippet requires using the right tippet and tying technique that results in the nymph moving in a manner that closely resembles the real thing. The tippets and the tying methods used will differ based on the fishing conditions faced, requiring knowledge of various techniques.
The tying method is key to keeping your nymph and the fish securely on the line while masking the line so as not to deter wary fish. This guide will help equip anglers with the knowledge to master this fundamental skill, enhancing your fly fishing experience. We’ll cover the essentials, from selecting the right materials to executing the perfect knot, ensuring your nymph is presented to the fish you are targeting in the most enticing way.
Correctly Tying A Nymph To A Tippet For Fly Fishing
Nymph fishing is all about subtlety and smarts. It’s a way of catching fish that relies on using artificial lures called nymphs, which mimic the immature form of insects as they make their way to the water’s surface.
These lures are designed to sink below the water’s surface, where fish often feed, making them a go-to choice for anglers looking to hook fish that aren’t biting at the surface.
The tippet is a thin line that connects the end of your leader to the nymph. It’s a crucial part of your fishing setup because it’s the last thing between you and the fish. A well-tied nymph to a tippet can mean the difference between a fish seeing your lure as food or as something to avoid.
We’re going to break down the basics of nymph fishing. You’ll learn to choose the right kind of nymph, match it to the natural insects in the water, and connect it to your tippet so it looks right to the fish. We’ll keep it simple and straightforward, so by the end of this, you’ll have a solid foundation to build on.
Equipment And Materials Needed For Nymph Fishing
To get started with nymph fishing, you’ll need some specific gear. This isn’t about having the fanciest equipment but the right tools for the job. Here’s a breakdown of what you’ll need and why each piece is important.
Line, Leader, And Tippet
The line is what you cast with, the leader is the clear connection between your line and the tippet, and the tippet is the final, almost invisible, connection to the nymph.
Item
Purpose
Recommended Specs
Fly Line
To cast the nymph and present it naturally
Weight-forward, matched to rod
Leader
To connect the fly line to the tippet invisibly
9-12 feet, tapered
Tippet
To tie the nymph and allow it to move naturally
4X to 6X, depending on nymph size
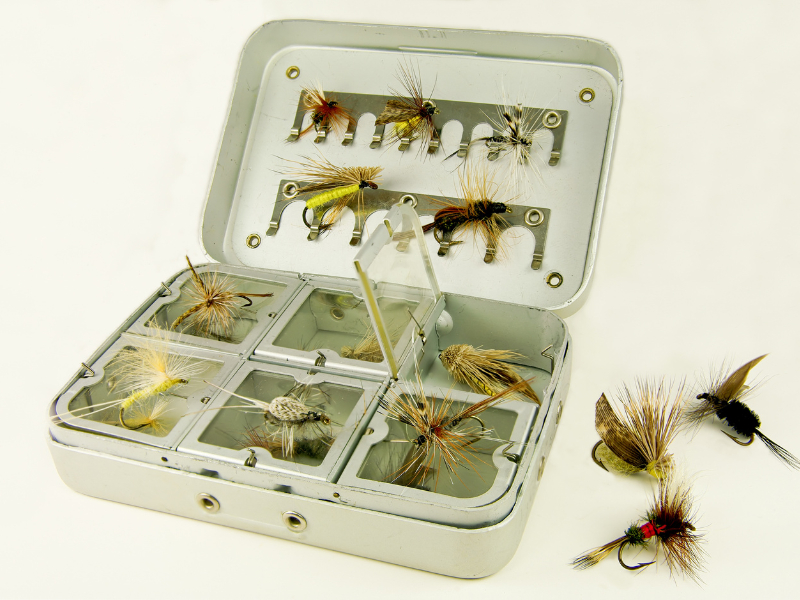
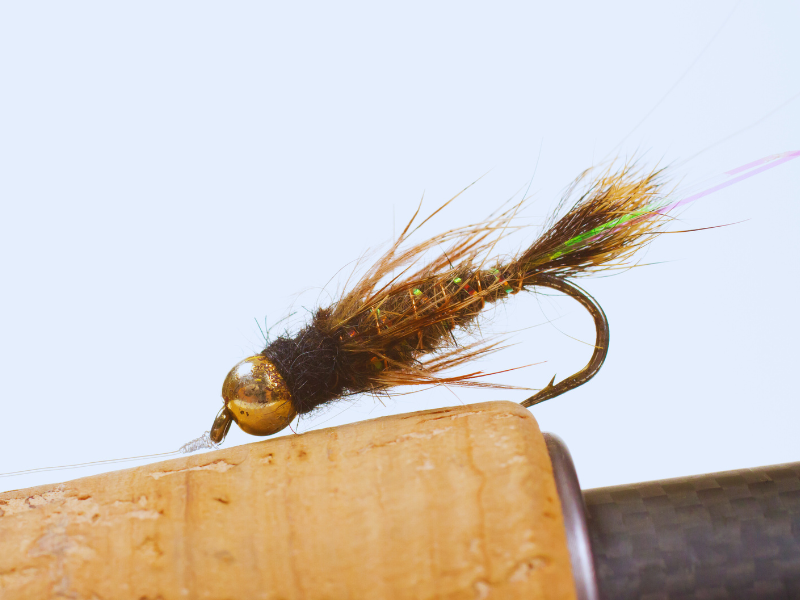
Nymphs
Your choice of nymph should be based on what the fish are eating. This can change with the season, the weather, and even the time of day.
The nymph is designed to imitate the insects the fish feed on and must appear as close to the real thing as possible. Examples are the Pheasant Tail, Prince Nymph, and Hare’s Ear Nymph.
Additional Tools
A few extra tools can make your fishing experience smoother and more enjoyable.
Item
Purpose
Nippers
To trim line and tippet
Split Shot
To add weight to your line
Strike Indicators
To signal when a fish takes your nymph
Floatant
To keep dry flies and indicators afloat
The goal is to have a setup that feels comfortable to you and suits your fishing conditions. With these essentials, you’ll be well on your way to a successful day on the water.
The Basics of Tippet to Nymph Connection
Connecting a nymph to your tippet is a fundamental skill in fly fishing. The tippet is the final section of your line that’s actually tied to the nymph, and it’s vital for a few reasons: it’s nearly invisible to fish, it presents the nymph naturally, and it’s what you’ll be watching for those subtle strikes. Here’s how to get it right.
Choosing The Right Tippet
First things first, you need to pick the right tippet material. Tippets come in different thicknesses, known as ‘X’ ratings. The larger the number before the ‘X’ notation, the thinner the tippet.
For most nymphing, you’ll want something in the range of 4X to 6X. Thinner tippets are less visible to fish and can present smaller nymphs more delicately but are also weaker. Match your tippet to the nymph’s size and the water’s clarity.
Measuring Tippet Length
The length of your tippet affects how your nymph moves in the water. A good starting point is about 18 to 24 inches. This can vary depending on the water depth and the fishing conditions. Deeper water or heavier currents might require a longer tippet to get your nymph down to the right depth.
Tying The Nymph To The Tippet
Now for the main event: tying the nymph to the tippet. You can use several knots, but one of the most common and reliable is the Improved Clinch Knot. Here’s a step-by-step guide:
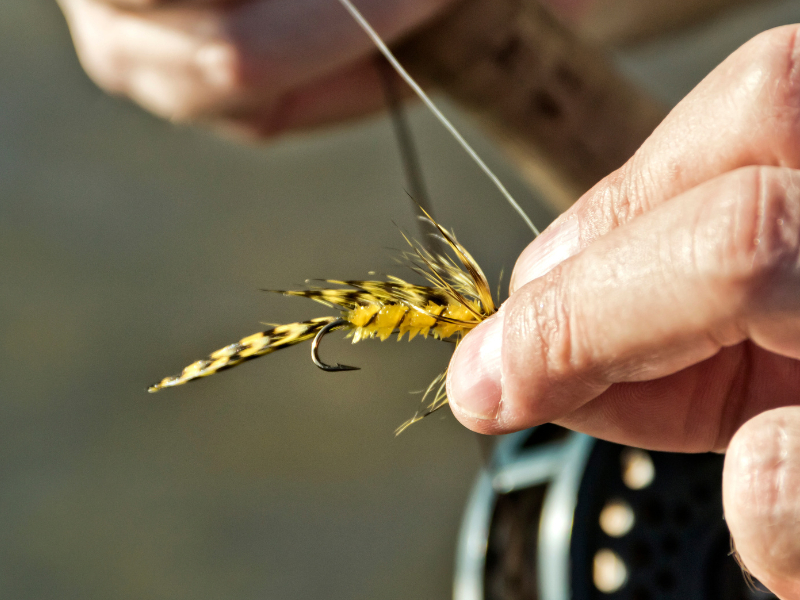
Thread the end of the tippet through the eye of the nymph.
Wrap the end of the tippet around the standing part five or six times.
Pass the end of the tippet through the small loop above the eye of the nymph, then through the big loop you just made.
Wet the knot with a bit of saliva (this reduces friction and allows the knot to tighten smoothly).
Pull the tippet’s end while holding the nymph to tighten the knot.
Trim the excess tippet above the knot.
Testing The Connection
After you’ve tied your knot, give it a gentle tug to make sure it’s secure. A good knot won’t slip or break under a bit of pressure. If it does, untie it and try again. It’s better to find out now than when you’ve got a fish on the line.
Adjusting For Varying Fishing Conditions
Sometimes, you will need to adjust your tippet length or change your nymph based on what’s happening in the water. Try a longer tippet or a different nymph if the fish aren’t biting. Pay attention to what insects are currently hatching and try to match your nymph to the size and color of the natural insects.
Tippet To Nymph Tying Techniques
Tying a nymph to a tippet is not just about securing a fly; it’s about ensuring that the presentation mimics natural prey. Different conditions and fishing styles call for different tying techniques. Here, we’ll cover some effective methods that can be adapted to various fishing scenarios.
Standard Two-Fly Nymph Rig
This setup allows you to fish two nymphs simultaneously, increasing your chances of a strike.
Attach the First Nymph: Using the Improved Clinch Knot, tie your first nymph to the end of the tippet.
Prepare the Second Tippet: Cut a 12-18-inch length of tippet material for your second nymph.
Attach the Second Nymph: Tie one end of the second tippet to the second nymph using the same knot.
Connect the Tippets: Tie the other end of the second tippet to the bend of the hook on the first nymph or to the eye if it’s a jig style. This can be achieved with a simple Clinch Knot.
Emergent Nymph Setup
Ideal for imitating insects as they ascend to the water’s surface, this rig is great for fishing in the film, where trout often feed.
Tie the Emergent Nymph: Start by tying your emergent style nymph pattern to the tippet with an Improved Clinch Knot.
Adjust the Depth: Set the depth by using a strike indicator on the leader. The distance from the indicator to the nymph should be roughly 1.5 times the depth of the water you’re fishing.
Right-Angle Nymph Rig
This technique keeps your nymphs at the right depth and makes it easier to detect strikes.
Set Up the Leader: Tie a perfection loop at the end of your leader.
Attach the Tippet: Use a tippet ring or a loop-to-loop connection to attach a vertical tippet section that will hang down at a right angle from your leader.
Tie the Nymph: Secure your nymph to the end of the vertical tippet using an Improved Clinch Knot.
Upstream Nymphing Technique
The upstream technique is effective when you’re fishing in faster water and need to get your nymphs deep.
Tie the Nymph: Attach your weighted nymph to the tippet with an Improved Clinch Knot.
Cast Upstream: Cast your line upstream and let the nymph drift down with the current, keeping the line tight enough to feel a strike but not so tight that it affects the nymph’s natural drift.
Knots And Attachments For Tying Nymphs To Tippets
Securing your nymph to the tippet with the right knot is crucial for a successful fly fishing experience. The knots you choose must be strong enough to hold but also small enough to allow the nymph to move naturally in the water. Here’s a guide to the essential knots and attachments you’ll need to master.
Essential Knots for Nymph Fishing
The following table lists some knots essential for the knot-tying repertoire of all anglers fishing with nymphs.
Knot
Purpose
When to Use
Improved Clinch Knot
Attaching the nymph to the tippet
The most common scenario for tying on a nymph
Surgeon’s Knot
Joining two pieces of tippet material of different diameters
When extending the tippet or changing its size
Perfection Loop
Creating a loop at the end of the leader
When you need a quick and reliable loop-to-loop connection
Non-Slip Mono Loop
Tying a loop that allows the nymph to move freely
When fishing with streamers or larger nymphs that need more movement
Attaching Weight and Indicators
You can tweak the way the nymph moves or cater to varying fishing conditions by adding the following attachments to your rig.
Attachment
Purpose
How to Attach
Split Shot
To add weight to the line for depth control
Pinch onto the tippet above the nymph
Strike Indicators
To signal a bite and help adjust the depth
Attach to the leader at the desired depth from the nymph
Adjusting the weight and the position of the strike indicator can change how your nymph behaves in the water. Here’s what you need to know:
Weight: If your nymph isn’t reaching the desired depth, add split shot weights. Start small and increase until you find the right balance.
Strike Indicator: Slide the indicator up or down the leader to change the depth at which your nymph is presented. The deeper the water, the higher the indicator should be.
By becoming proficient in these knots and understanding how to properly attach weights and indicators, you’ll be well-equipped to handle the technical aspects of nymph fishing. This knowledge will help ensure that your nymph is presented most effectively, increasing your chances of a successful catch.
Common Mistakes to Avoid
Even experienced anglers can fall into certain traps that reduce their effectiveness on the water. Being aware of common nymph tying mistakes can help you avoid them and improve your fishing success.
Ignoring the Importance of Stealth
One of the biggest mistakes is not being stealthy enough. Shadows and vibrations easily spook fish. Always approach fishing spots with care, move slowly, and keep your shadow off the water when possible.
Using the Wrong Tippet Size
Using a tippet that’s too thick can make your nymphs look unnatural and deter fish. Conversely, a tippet that’s too thin may break under the stress of a strong fish. Match your tippet size to the nymph and the conditions.
Neglecting Knot Quality
Knots that aren’t tied properly can slip or break at the worst moment. Take the time to tie your knots correctly and test them before casting.
Not Using a Strike Indicator
Especially for beginners, not using a strike indicator can result in missed strikes. An indicator can help you detect subtle takes that might otherwise go unnoticed.
There is some debate about the use of a strike indicator in nymph fishing, and we detail the advantages and downsides of using a strike indicator in our article “Do You Need An Indicator For Nymph Fishing?“
Conclusion
Nymph fishing is an art that draws the angler into learning to understand and use nature to their advantage. It is a style of fishing that demands patience and skill. Learning to tie the nymph correctly to the tippet is more than simply tying a secure knot. Proper techniques can enhance the attractiveness of the nymph to the fish, resulting in a more successful fishing trip.
As you wade through the currents and cast your line, remember that the true essence of fly fishing lies in the balance between the challenge of the catch and the responsibility we hold towards the ecosystems we engage with. The rivers and streams are not just venues for our sport—they are vital planet arteries, deserving our utmost care and protection.
Frank was born in Zimbabwe and developed a love for the outdoors in this wild African country. His interest in fishing began fishing for various bass species in the waters surrounding his hometown.
After moving to South Africa, his fishing interests broadened to include surf angling, and fishing for bass, perch, carp, catfish and others in the many fishing spots around the country. Trout fishing in the highland streams is a seasonal favorite. Fishing gear and trying new techniques is a particular interest for this angling enthusiast.