Are you looking for a way to grow fishing worms for bait? Are you new to worm farming and don’t know where or how to start? Growing worms for fishing bait can be very cost-effective but also a lot of fun.
The following step-by-step guide will show you how to start your worm farm, so you’ll have all the essentials to begin growing fishing worms from home, either on your own or with your family.
Choose the Right Location for the Worm Bed
Now that you’ve decided to grow worms for fishing bait, the first step is to choose a location for your worm bed. That’s the container the worms will live in. The best spots are outdoors, cool and dark but not too damp. Try to find a place away from direct sunlight and out of the wind.
Another important consideration when choosing where to put your worm bed is its proximity to pets and children—especially those who might accidentally knock over their container or disturb them while playing outside.
While you can grow worms for fishing bait indoors, worms can be escape artists, and the worm bed can give off unpleasant smells. Pick a garage or basement to keep them away from the rest of the family.
Find a Suitable Container To Keep the Worms Insulated
You’ll need a container to keep your worms safe from predators and at the right temperature. Premade worm beds of many different shapes and sizes already exist on the market and can be purchased from fishing shops and some garden centers.
You can use a large plastic or styrofoam tub, but if you want to keep things simple and spend less money on supplies, consider using a simple plastic bin with a lid. This will provide a sturdy and durable container to hold the bedding and keep the worms in one place.
If you’re good at woodworking or want something even more customized to your needs, consider making your worm bed out of wood. A wooden box works well because it provides excellent insulation for your worms and looks nice.
Indoors, you might already have a great container you can reuse. An old refrigerator box or hard-sided cooler can make a great cheap worm house.
Drill Holes To Ensure Proper Airflow and Drainage
You should drill holes in the container for a better and healthier environment for your worms. The holes should be along the upper and lower sides, near the edge, and roughly 1/16 inch in width. You can also add a few breathing holes to the lid.
The holes at the top of your container will be for airflow and allow the worms to breathe. The holes at the bottom work to filter out extra water and waste from the bottom of your container.
Depending on the worms you’re growing, you may have to make the holes slightly smaller. The holes should be big enough to let in air but not too big to allow the worms to escape. To prevent the worms from getting cold, make sure that the holes are spaced out around the container so that there is at least one inch of space between each one.
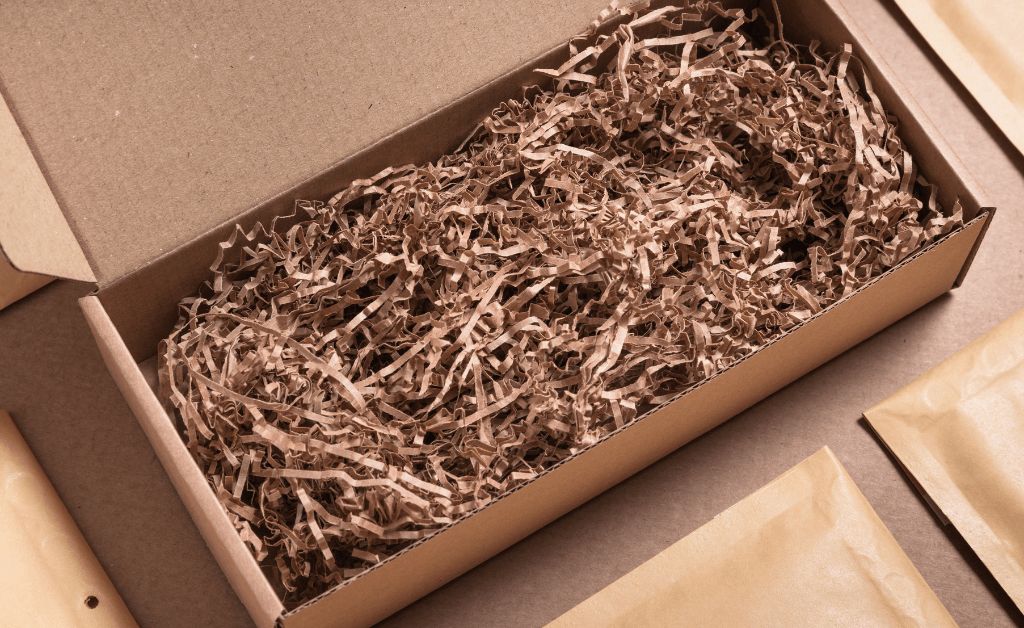
Line the Bottom of the Container with Shredded Paper Bedding
All good worm homes need bedding to keep them warm, but it doesn’t have to be fancy.
You’ll want to line the bottom of your container with something that can absorb moisture and provide shelter. Shredded paper with no print dye or ink that can be toxic to worms is an excellent choice. The worms will also feed on this shredded paper bedding. It’s easy to find, cheap, and has many other uses in gardening, including helping retain moisture in soil beds and preventing weeds from growing.
Spread the bedding evenly in the bottom of the container so there are no apparent mounds or bare places. The worms will live between this layer and their food, so you mustn’t have any bare spots in your container where they could be exposed directly to light or cold temperatures.
Fill With Potting Soil Over the Bedding Layer
Now that you’ve added the bedding layer add potting soil to make a thicker layer on top of it between three and nine inches deep, depending on the depth of your container.
You can use your hands or a trowel to spread it evenly across the top of your bedding, breaking up any large clumps. Aim to fill it with potting soil at least a third of the way up to give worms plenty of room to burrow down into their new home and find food without being smothered by too much topsoil.
Add about three inches worth at most or to the top of smaller containers; otherwise, it might be difficult for small worms and larvae, in particular, to move around comfortably inside their habitat.
Sprinkle the soil with drops of water and turn it with your fingers to aerate it. If the earth quickly starts to clump, it’s the correct moisture level.
Maintain the Moisture Level of the Soil
The moisture level of the soil is another crucial factor in worm farming. You’ll want to make sure that the moisture level is just right. Too much water and mold can begin to grow in the soil, or worst still, the worms can drown. Too little moisture and the worms will dry out.
Check the soil daily and water it if it feels dry to the touch. If it does, dampen the top of the dirt with a spray bottle or gently with a watering can.
The holes at the bottom of the worm bed should help to drain excess water.
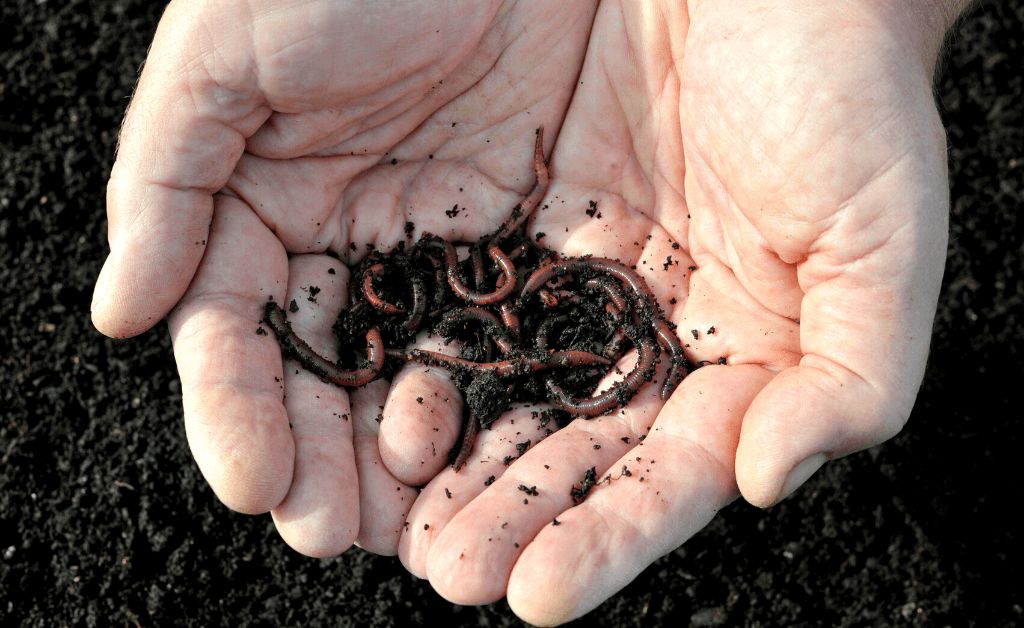
Get the Right Kind of Worms
If you’re putting in the time to raise your bait worms, choose the right kind for your needs.
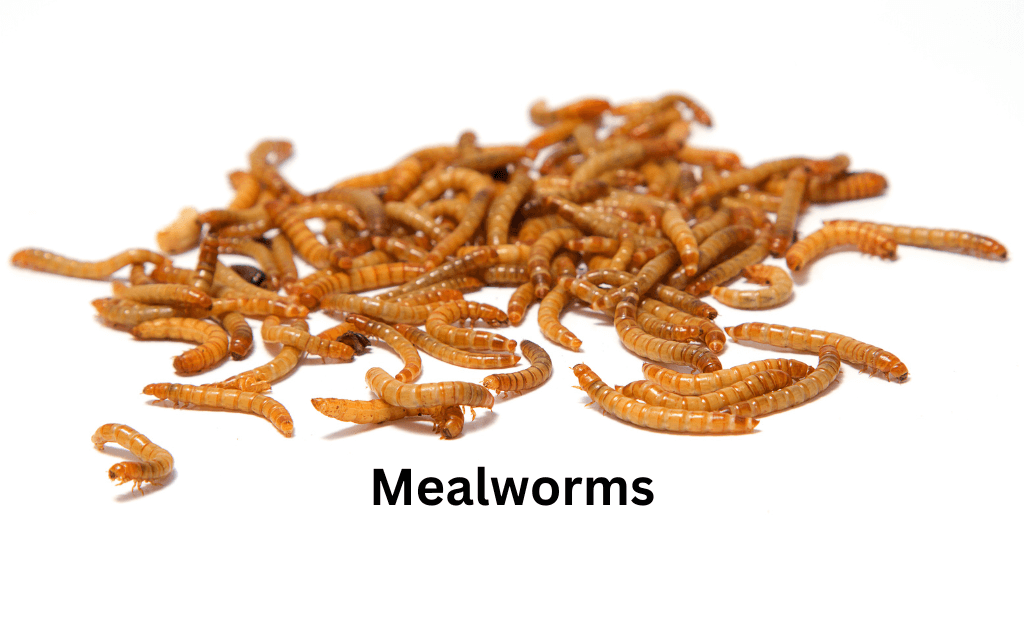
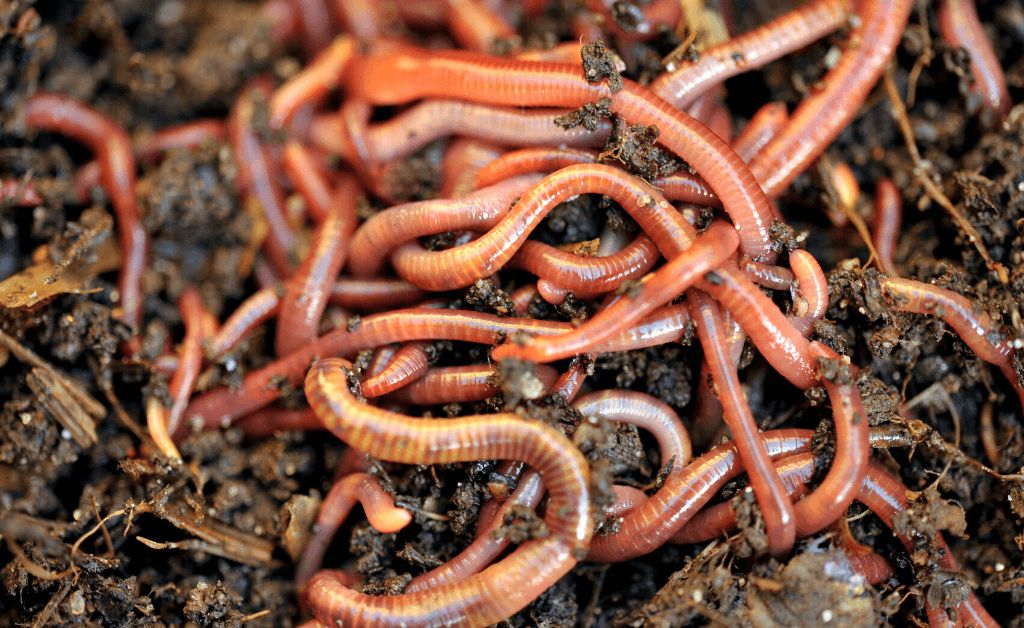
The three common bait worms are red worms, mealworms, and nightcrawlers. While some fishermen prefer red worms for small-mouthed fish like perch, others choose mealworms for the nearly universal appeal from trout to catfish. Large nightcrawlers are great for ice fishing and bass varieties.
If you have access to a bait shop, then buying your worms there is probably your best bet. If not, online stores also sell them.
Add Worms to the Container
Add your worms gently to the top layer of soil in the container, but don’t crowd them. If you do, they’ll compete for food, and you won’t achieve the large, healthy worms you need.
The more space you give them, the better their chances are of surviving long enough to breed and help you grow more bait. Aim for no more than 20-24 worms per square foot for large containers with plenty of soil.
For the first few days, check the soil levels often, and you’ll quickly get a handle on how much moisture maintains a damp but not wet soil.
Harvest the Worms
Once the worms are roughly double their original size, you can start to harvest them for fishing bait. If you wait too long and allow them to grow too big, they might begin challenging others for food.
Harvest near dusk or when the day starts to cool off for best results but be gentle and don’t stir up the soil too much to avoid stressing the other worms.
Frequently Asked Questions on Growing Worms for Fish Bait
These are some of the frequently asked questions regarding growing worms for fishing bait.
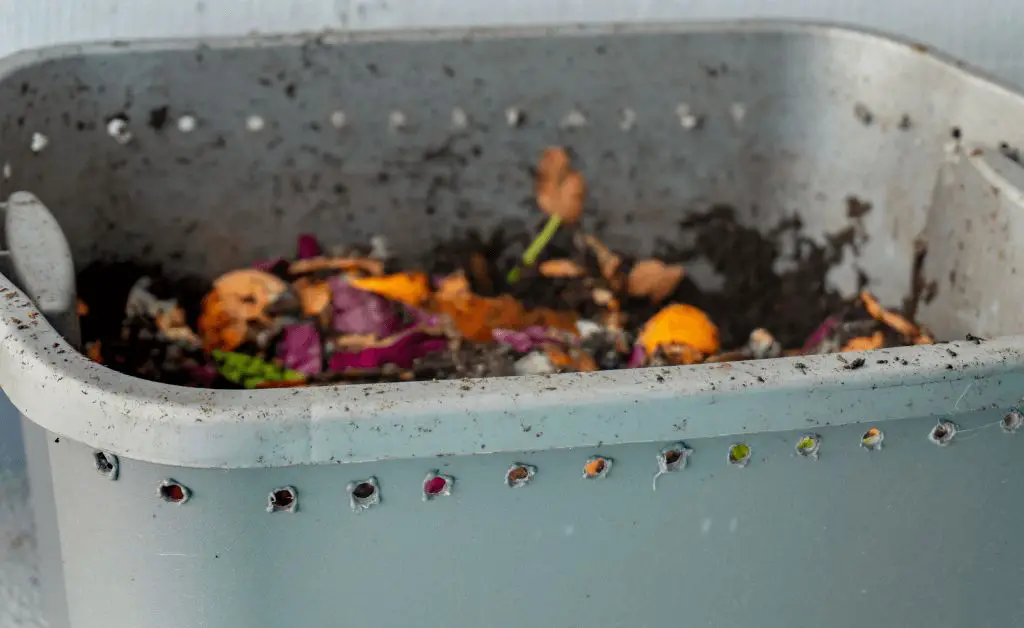
What do worms eat?
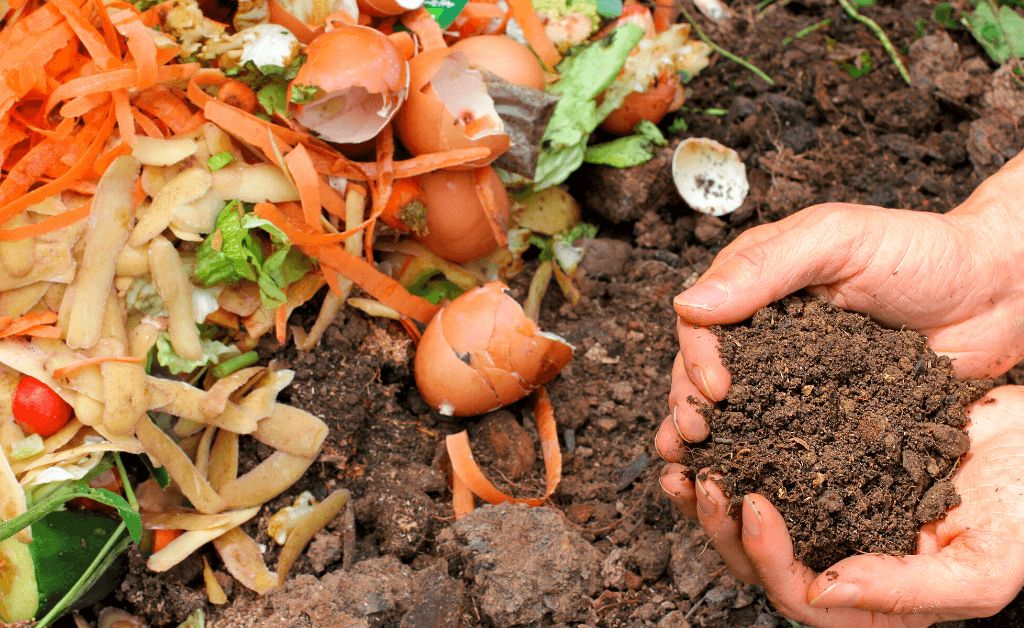
The shredded paper or worm bedding will make up a small amount of the worms’ diet. The rest of the menu should be a handful or two of organic materials like fruit and vegetable scraps, cores, and peelings, as well as dead plant debris left on top of the potting soil layer or buried a little below the surface.
Avoid foods that could be spicy, meat, or dairy products or are highly acidic such as onion, garlic and citrus. These could hurt the worms or may simply rot and ruin the soil.
At what temperature should I keep my worm bed?
Worms are sensitive to temperature and moisture. The ideal temperature range for worm beds is between 50 and 80 degrees Fahrenheit (10-27 degrees Celsius).
Always keep the temperature within your worm bed above freezing because there is no way to put tiny winter jackets on all those worms. You can keep them warm by using a heating pad or other heat source underneath your layers of newspaper or cardboard.
When should I change the soil?
Soil should get replaced every one to two weeks. The exact time frame will vary depending on the conditions of your worm bed, how many worms you have, and the amount of compost added.
Use a garden trowel or small shovel to gently scoop out any remaining soil, being careful not to disturb the worms too much. Then add new, fresh bedding material to cover the bottom of the container. Add the worms and soil back after checking that drainage, and breathing holes remain intact.
Occasionally, replace all the soil to eliminate the unpleasant odor coming from the bed.
Conclusion
Growing your own worms saves money and lets you control the type and size of the bait you will use. Learning how to grow bait worms can be a little tricky, but with patience and persistence, it will pay off!
Hi, I’m Tommy Bull. I can safely say that this was one of the best days of my adult life. The weather was perfect, not too hot or too cold, the lake was peaceful and still, and my bounty was impeccable.
This day is what started my love of fishing. Since then, I’ve been traveling around different lakes to see if I can match the magic of Irvine lake. No luck yet, but I remain hopeful. Until then, I can always count on Irvine lake to remind me of that feeling.
Anyway, I created Irvine Lake to teach people how to fish so that they feel more confident to go out and find their own fishing spot to embrace that feeling.
From then on, the site has grown to encompass my love of all things camping and outdoors too.


: How to Catch, Clean, and Cook")
")


